

creating a starfieldso when it's rainy you can has pretty stars to look atIn order to produce a starfield, there are a number of methods available. In this tutorial, we will be using brushes and a filter to achieve our desired effect. In the end, you will end up with an image similar to the one below: 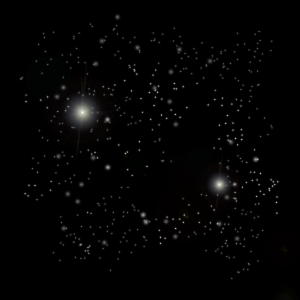 Now, to begin, as a way to replicate the night sky, I started simply with a black canvas, 300 by 300 in size. After, I changed my foreground colour to white. This will be the colour of the stars. It can be changed later, however, this tutorial is showing merely how to create them. Now, click on the brush icon in your toolbar and find the brush window. It may exist as a tab within the program, however, if you find that you are having trouble, simply go to the main toolbar with such tabs as, "File, Edit, Image, etc." and find the window tab. There, it should give you an option to make visible the brush window. Once you have this window, click Brush Tip Shape and match the settings to my own here. Make sure Scattering is checked, and when you click on that particular property, a new set of options will appear. Match those options to my own here. Before you begin, be sure to decrease the opacity of your brush. My had been set to 33%, though this can vary based upon personal preference. Now, depending on what kind of person you are, objective or subjective, this may or may not be the fun part. With your brush prepared, begin to brush your canvas randomly. Stars are never quite organized, so allow them to be spontaneous. This is my current canvas: 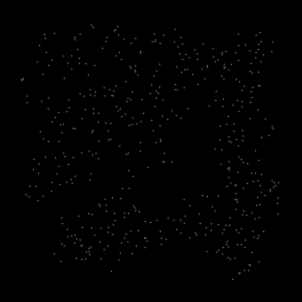 Once you have done this, duplicate the layer and set it to Linear Dodge. The stars will become brighter. Now, once again observing natural starfields, we know not all stars have the same brightness. Using a soft eraser, begin to erase away some of the stars on this duplicated layer and leave only a handful or so bright. Remember to keep it random while working. Your canvas should be similar to my own:  Now, the next step will be to create a new layer. Then, go to your Brush settings window once more and under Brush Tip Shape, change the diameter from two pixels to six pixels. All other settings will remain the same. With this new brush, return to your canvas and begin brushing once more on the newly made layer. The bigger stars will be less abundant, keep this in mind. My canvas appears like so: 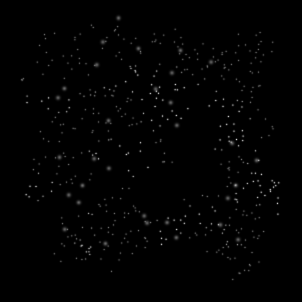 Next, following the same method as used with the first layer of stars, we will duplicate these stars, set this new duplication to Linear Dodge, and erase some of the stars to create varying brightness. Here is my canvas now: 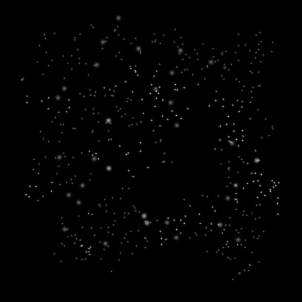 Finally, we move onto the use of filters. Create a new layer, however, this time it must be filled with colour. I have chosen black. Find the filter tab along the main toolbar and go under Render to the Lens Flare effect. Here, I have picked 105mm Prime lens type and my brightness is set to 35%. Depending on how bright you want this larger star to be, this may differ. Once you have selected your settings, hit OK. To allow your other stars to show through, I would suggest setting your current layer on Exclusion. Your canvas should now be similar to mine below: 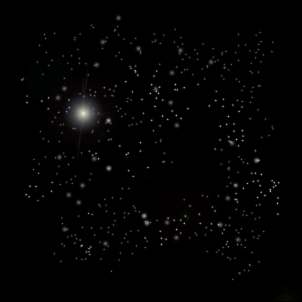 You may add more of these stars by following the same process, decreasing or increasing the brightness. In my final result, I have added a star of lesser brightness: If you wish to add colour, it is as simple as creating a new layer, filling it with your desired colour, and setting the layer to Overlay or Soft Light. Thank you for reading this tutorial, I hope you have learned something from it. If you have any questions or concerns, please feel free to e-mail me at moonflamedesigns@gmail.com. |